Baby Carriers for Mastectomy Recovery: Comparison
By Avery Sullivan • 3rd Mar
Understanding Your Babywearing Needs After Surgery
If you're preparing to babywear after mastectomy or are currently navigating recovery, you're facing a puzzle that goes beyond typical carrier selection. Your body is healing, sensation and comfort matter differently now, and you need gear that supports your reality (not someone else's standard postpartum timeline). This guide walks through the carrier options that work best when scar comfort and gentle support are non-negotiable.
Why Carrier Choice Matters During Mastectomy Recovery
Mastectomy recovery typically involves restrictions on lifting and pressure for four to six weeks or longer, depending on surgical technique and individual healing[5]. When you're cleared to resume babywearing, the wrong carrier can mean discomfort, prolonged pressure on newly sensitive tissue, and frustration during the one activity you've been missing.
The goal is not just to get your baby close; it is to do so safely and calmly, rebuilding competence in your body's ability to hold and move with your child. Fast, calm setups turn chaos into competence you can feel.
Key Considerations Specific to Surgery Recovery
Chest pressure and strap placement are the two biggest variables. Traditional carriers often route straps directly across the chest or anchor to the sternum, places where surgical sites, drains, and healing tissue can't tolerate prolonged contact. You'll want carriers that either distribute weight away from the chest or allow strap repositioning.
Range-of-motion limitations also matter. If your surgery involved lymph node removal or nerve work, raising your arms to fasten back straps or reach shoulder anchors might be uncomfortable or simply impossible right now. Carriers with front-clip closures, pre-positioned straps, or hybrid designs bypass this friction entirely. If one-handed operation is a priority, compare models in our one-handed carrier guide to find fast-on options that avoid overhead reach.
The Main Carrier Types: How They Stack Up for Recovery
Structured Carriers with Front Clips
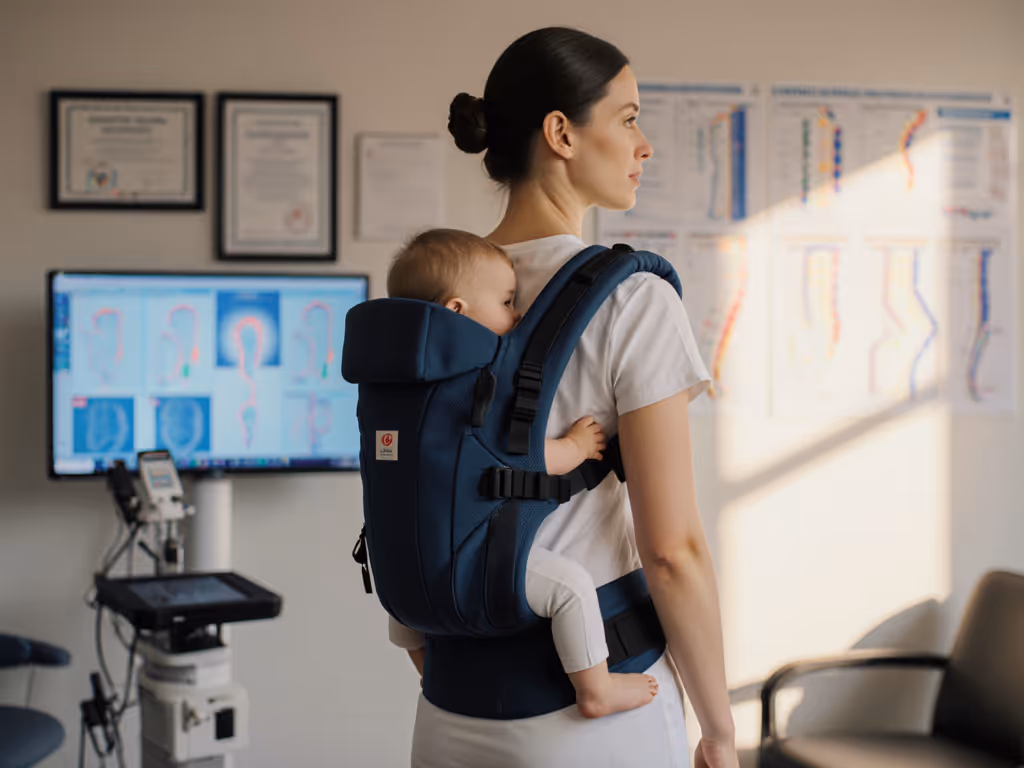
Structured carriers (the padded, buckle-based options) are often the easiest choice post-surgery because many feature a front waist clip and forward-fastening straps. You don't need to reach behind yourself, and the waist belt does the heavy lifting of weight distribution, keeping chest pressure minimal[4].
What makes them work for recovery:
- No back straps to fiddle with during healing
- Waist clips keep the load off your shoulders and chest
- Adjustable strap width and positioning let you avoid fresh scar tissue
- Setup time is typically 30-60 seconds, even in early recovery when you're moving cautiously
The tradeoff: Structured carriers are bulkier than wraps and can feel warm in hot climates. If heat is a concern, see our summer babywearing tips for staying cool and comfortable. Some also press a horizontal band of fabric across the lower chest or ribs, which might feel uncomfortable if your surgery involved chest-wall reconstruction or if you're sensitive to pressure[1].
Recovery note: Choose carriers with padded, distributable straps rather than thin, rigid bands. The Ergobaby Omni 360 is frequently recommended because it offers multiple carry positions and a detachable waist pouch, freeing you from worrying about where to stash a phone or keys during one-handed setups[1].
Wrap Carriers (Stretchy and Ring Slings)
Wrap carriers (long pieces of fabric you tie or thread through rings) demand significant upper-body engagement and both arms to tie and adjust. During mastectomy recovery, this isn't practical[2]. Most wraps also nestle the baby against your chest, which can mean direct pressure on healing tissue or scars.
Why they're not ideal right now:
- Tying and adjusting require two free hands and multiple arm raises
- Full-chest contact might irritate fresh scars or surgical sites
- Learning curve means trial-and-error at a time when calm setup is essential
When to revisit: Once you've healed more fully and regained unrestricted shoulder mobility, wraps offer superb weight distribution and newborn-phase coziness. For now, skip them.
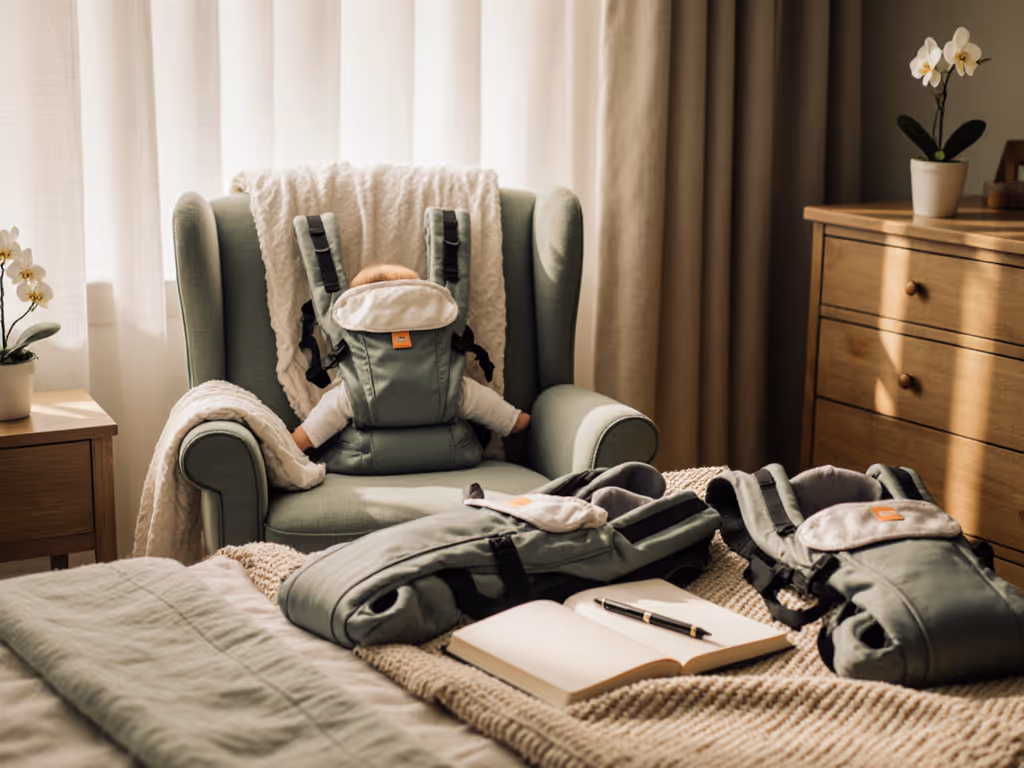
Hybrid Carriers (Wrap-Like Softness + Structured Ease)
Hybrid carriers combine soft fabric with structured support and buckle closures. They slip on like a t-shirt, require minimal adjustment, and avoid the two-handed tie-and-retie dance of traditional wraps[2].
Why they're recovery-friendly:
- Extremely quick to don: often under one minute
- Soft fabric is gentler on sensitive skin and scars than rigid plastic
- Front-facing buckles mean no reaching behind your back
- Flexible strap placement means you can adjust where pressure lands
The consideration: Hybrids typically have a lower weight limit (7-25 pounds) than fully structured carriers, so they're brilliant in the newborn-to-early-toddler phase but may need retiring as your child grows[2].
Recovery standout: The Ergobaby Embrace is specifically called out as ideal for parents easing into babywearing because it slips on in under a minute, has no back strap to wrestle with, and is comfy for both baby and caregiver[2]. Its adjustability also means you and a partner can share it without obsessive re-fitting.
Carriers Without Waist Belts
If your surgery affects your core or pelvic floor (common concerns during recovery), carriers without waist belts spare you pressure where you might not want it. Shoulder-only carriers and some soft-structured options distribute baby's weight primarily across your back and shoulders[4].
Best for: Caregivers managing pelvic floor concerns or who feel that waist pressure interferes with healing. These shift load differently and give you agency over where you feel baby's weight. For core or pelvic floor sensitivities, our PT-approved pelvic floor recovery guide shows safe positions and adjustments that minimize abdominal pressure.
Practical Comparison: Setup Time, Comfort, and Healing
During recovery, setup friction matters more than usual. If you're still tender or moving cautiously, a carrier that demands two-handed fumbling will frustrate you every single time you use it. Here's how the main types stack up:
| Carrier Type | Setup Time | Chest Pressure | One-Handed Use | Best Recovery Phase |
|---|---|---|---|---|
| Structured (front clip) | 30-60 seconds | Low-Moderate | Possible | Weeks 4-6+ |
| Hybrid (buckle-strap) | 30-45 seconds | Minimal | Possible | Weeks 4-6+ |
| Wrap (stretchy) | 3-5 minutes | High | No | Weeks 8-12+ |
| Ring Sling | 2-3 minutes | Moderate-High | Possible | Weeks 8-12+ |
| Structured (back clip) | 60-90 seconds | Moderate | No | Weeks 6-8+ |
Slow is smooth; smooth becomes fast. Early in recovery, choose the carrier that requires the fewest steps and the least reaching. Speed and confidence will follow naturally.
Scar Comfort and Pressure Points
Once you're cleared to babywear, pay attention to where straps land. A few practical checkpoints:
- Strap width: Wider straps distribute weight more evenly and are gentler on sensitive shoulders and chest.
- Padding: Padded straps feel better on healing skin than thin webbing.
- Closure style: Front clips and velcro closures let you adjust exactly where pressure sits. Clips are quieter too, a small but real comfort when you're managing soreness[1].
- Chest band: If the carrier has a horizontal chest or rib band (common in some soft-structured carriers), position it below your surgical sites if possible[1]. If it rests directly on a scar, that's your signal to try a different model.
Starting Your Return to Babywearing: A Gentle Reentry
Even when you're cleared by your surgical team, start small. Your body has been through significant trauma, and confidence rebuilds with repetition.
Checkpoint 1: Fit and Position Before you head anywhere, put the carrier on at home without baby. Adjust straps so weight feels balanced, not pulling toward one shoulder. Notice where the chest band or straps sit. Does it feel safe for your incisions? Can you move your arms freely? Use the TICKS babywearing safety guide as a quick positioning double-check.
Checkpoint 2: Baby's First Carry Start indoors, sitting or standing still. Place your baby in the carrier and wear them for 5-10 minutes. How does your body feel? Is there sharp pain, or just the expected post-surgical tenderness? Do you feel confident in baby's position? Adjust straps as needed before moving.
Checkpoint 3: Short Outings Once indoor trials feel good, venture out for a 15-20 minute errand: a walk around the block, a quick trip to the mailbox, a visit to a nearby store. Move slowly, stay tuned to your body's signals, and return home to rest. You're not testing endurance; you're rebuilding muscle memory and trust.
Checkpoint 4: Gradual Duration Over two to four weeks, add 10-15 minutes per outing as your body permits. This isn't a race. Healing and confidence follow the same pattern: gentle, time-stamped steps that accumulate into real competence.
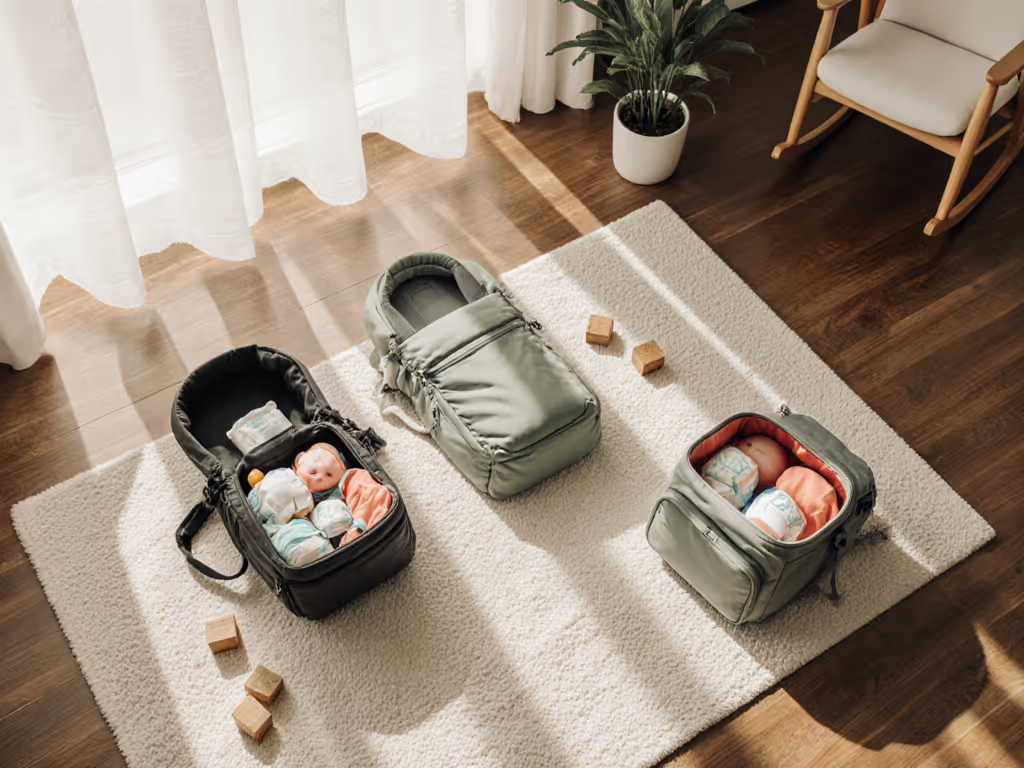
Choosing Between One Carrier or Two
Many recovering caregivers ask whether to invest in one versatile carrier or two with different strengths. The answer depends on your routine and budget.
One-carrier strategy: If you're mainly managing quick tasks (daycare drop-offs, errands, home-based baby care), a hybrid or front-clip structured carrier handles most needs well[2]. This keeps setup simple and reduces decision-making when you're tired.
Two-carrier strategy: If you plan longer outings (hikes, errands with a partner, travel) and want specialized comfort later, pair a quick-on hybrid now with a more robust structured carrier as you heal further. This lets you match carrier to activity and gives you options as your comfort and range of motion improve.
Sharing with a partner: If you and a co-parent or caregiver plan to share the carrier, confirm adjustability before buying. Hybrids sometimes come in sizes (potentially unshareable), while many structured carriers adjust across a wider range[2]. The Embrace, for example, fits caregivers from 5'0" and 100 pounds to 6'0" and 200+ pounds without resizing[2], a real advantage if you're tag-teaming.
Moving Forward: Your Next Steps
1. Check Your Surgical Clearance
Confirm with your surgical team or oncologist that babywearing is safe and when you're cleared to start. Recovery timelines vary; most centers give the all-clear around 6 weeks, but yours may differ based on your surgery type and healing.
2. Identify Your Top Priority
Is it speed of setup? Minimal chest pressure? Compatibility with a partner? Write down your one or two must-haves. This filters out noise and clarifies which carrier type fits your recovery, not someone else's.
3. Try Before You Buy
If possible, borrow or try on a carrier (either at a local baby store, through a friend, or via a rental service) before committing. Fit is personal, and what works for one body won't work for all.
4. Start Indoors, Then Expand
Don't launch into a full day out. Use the four-checkpoint reentry plan above. This builds real confidence and helps you spot discomfort early.
5. Revisit as You Heal
Your comfort and range of motion will improve over weeks and months. A carrier that feels tight or awkward at week 6 might feel perfect by week 12. Stay flexible with your choice.
Final Thoughts
Returning to babywearing after mastectomy is about far more than choosing the "best" carrier. It's about reclaiming a closeness with your baby on terms your healing body can manage. The right carrier (one that offers quick setup, gentle chest pressure, and intuitive adjustment) makes that reclamation feel possible instead of daunting.
Your body is resilient. Your baby missed being close to you. And the carrier that honors both of those things is the one worth choosing.
Related Articles